How to Hatch Duck Eggs in an Incubator + Get Great Hatch Rates
Learn how to hatch duck eggs in an incubator with the right temperature, humidity, and timing for strong, reliable hatch rates.
I’ve been hatching duck eggs in Maine for years now, and I’ve learned pretty quickly that duck eggs don’t leave much room for guessing. Between dry winter air and humid summer days, I’ve had incubators swing both directions if I wasn’t paying attention. The difference between a strong hatch and a disappointing one usually comes down to consistency, not perfection.
I’ve run a few different setups over the years, but I keep coming back to the same small tabletop incubator. It’s simple, easy to watch, and it does what I need it to do without a lot of maintenance. This is the exact process I follow here, start to finish, and what’s made the biggest difference in my hatch rates.
Duck Egg Incubation at a Glance
Incubation Time: 28 days (35 days for Muscovy)
Temperature: 99.3–99.6°F (forced-air incubator)
Humidity Days 1–24: 50–55%
Turning: 5–7 times per day
Cooling + Misting: Start on day 10, once daily
Lockdown Begins: Day 25 (stop turning)
Humidity During Lockdown: 70–80%
Keep the incubator closed during hatch!
What You Need to Know Before You Start
Before you set eggs, think about what happens after they hatch, because that part comes fast. If you’re new to all of this, I’d start with getting started raising ducks at home so you have the full picture beyond just incubation.
Duck eggs need to be fertilized, clean but not washed, and handled gently. That means avoiding sudden temperature changes, rough movement, or jostling the eggs. Even small things like dropping an egg into the tray instead of placing it can affect hatch success. Duck eggs can be stored for 7–14 days before setting, but hatch rates drop off pretty quickly after about 10 days.
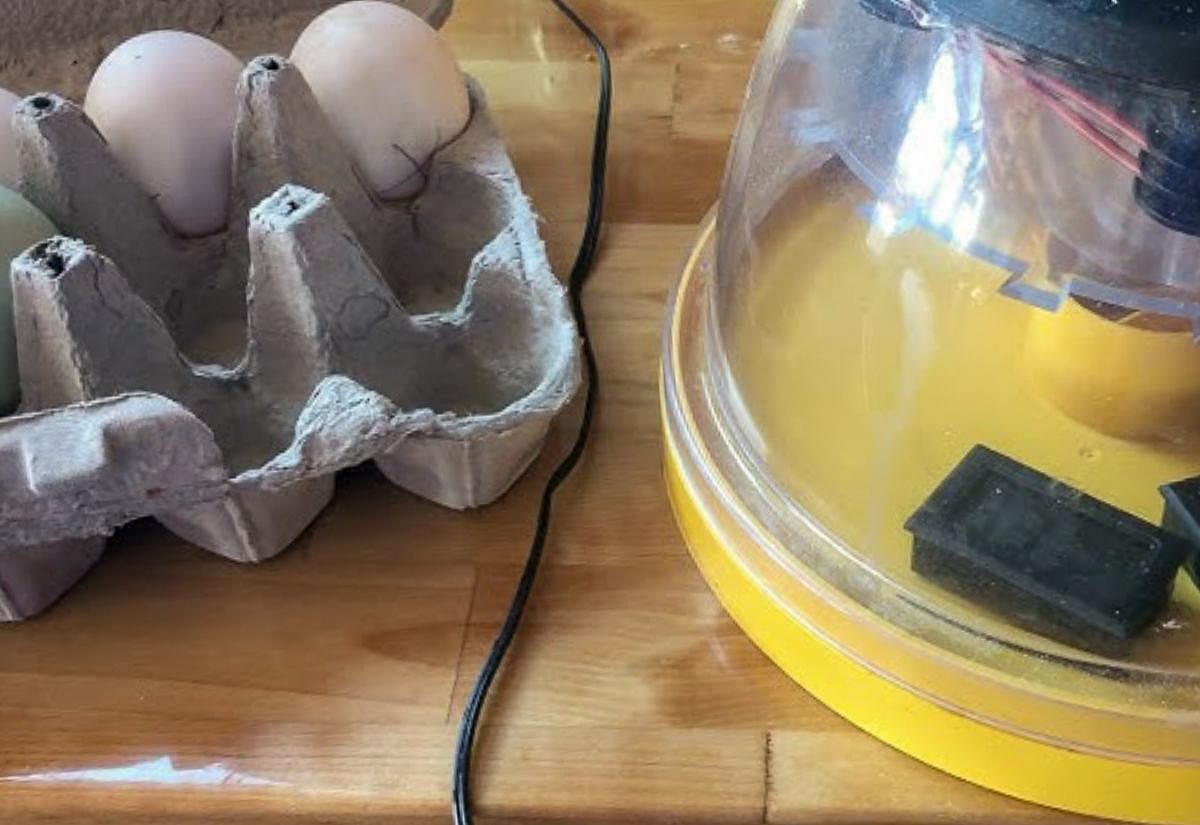
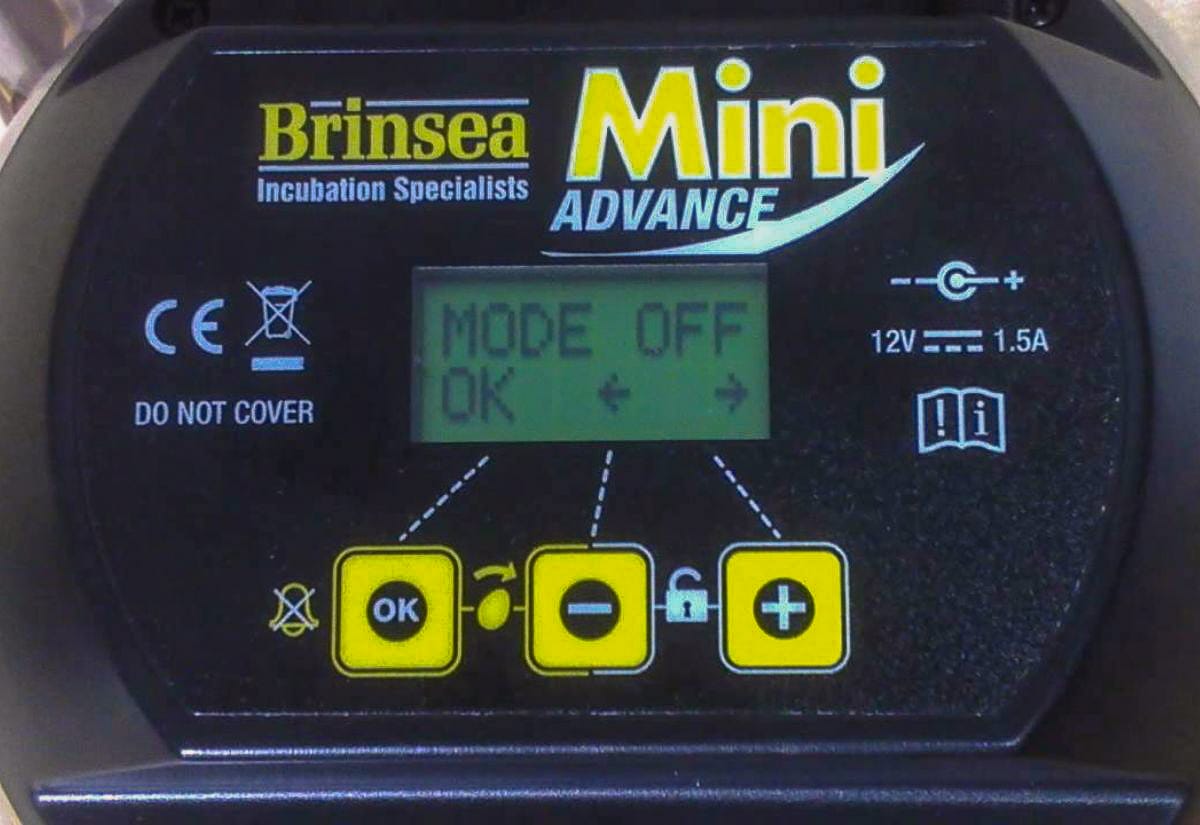
Let your incubator run for a bit before adding eggs. Fixing issues early is a whole lot easier than fixing them mid-hatch. I’ve been using the Brinsea Mini 2 Advance for over a decade now. It only holds seven eggs, which sounds limiting, but I prefer the smaller batches. I can see everything clearly. I can tell when humidity dips, when the eggs turn, and when something doesn’t look right. I can even hear ducklings peeping before they pip, which never gets old. It’s not cheap, but it’s been reliable year after year with no maintenance issues, and that kind of consistency is hard to beat.
Duck Egg Incubator Settings
This is step-by-step what I do when I’m hatching ducks here on the homestead.
Temperature and Humidity
For a forced-air incubator, you’re aiming for a steady temperature between 99.3 and 99.6°F. A brief dip or rise of a degree isn’t usually a problem if it corrects quickly. What causes issues is when temperatures stay too high or too low for hours at a time. If it’s bouncing around a lot, it’s worth figuring that out before you commit to a full hatch.
You’ve got a little wiggle room with humidity at first, but not forever. I keep mine around 50 to 55 percent through most of the incubation period. Once you hit lockdown, that needs to jump up into the 70 to 80 percent range so the ducklings can hatch without getting stuck.
Here in Maine, I’ve noticed winter hatches tend to run dry, while summer hatches can creep too high without much effort. In dry conditions, you may need to add water more often to keep humidity from dropping. In humid weather, it’s more about keeping it from climbing too high. A cooler room with closed windows may help.
Turning the Eggs
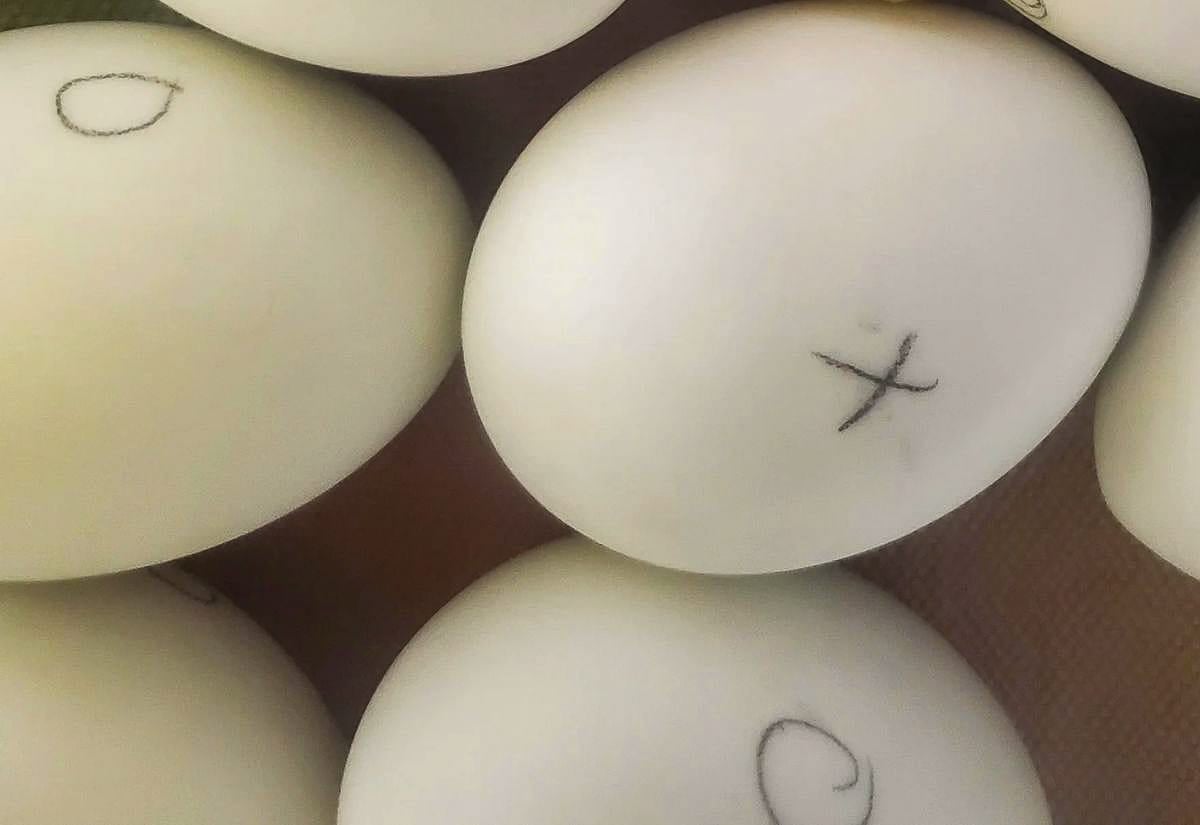
Duck eggs need to be turned regularly so the embryo doesn’t stick to the shell. If you’re turning by hand, you’re aiming for five to seven times a day. This is one step I’m happy to let the machine handle. The automatic turner takes care of it, especially overnight when it’s easy to forget. If you are manually turning eggs, it helps to mark one side with an X and the other side with an O so you know which ones have been turned.
Cooling and Misting
This is the step that sets duck eggs apart from chickens. Starting around day 10, I cool the eggs once a day for about 20 to 30 minutes and give them a light misting with room temperature water. Don’t drench them. Just a quick mist so they’re slightly damp. It’s meant to mimic a duck leaving the nest and coming back damp.
If you skip this, you can still get a hatch, but I’ve noticed better results when I stay consistent with it. The embryos seem stronger, and hatch rates are more reliable.
How to Incubate Duck Eggs Step by Step
Here’s what it looks like day-by-day.
Days 1–7: Getting Started
Set your eggs in a stable incubator and let things settle in. Focus on keeping temperature steady and turning consistent. Expect the temperature to drop when the eggs go in. That’s normal. It should get back to the right temperature within an hour. Don’t worry about cooling or misting yet. You can candle toward the end of this window to check for early development. You’re looking for veins starting to form.
Days 8–24: Active Development
Continue turning the eggs and start your daily cooling and misting routine around day 10. Candling during this phase will show more growth and a darkening egg as the embryo develops. Remove any eggs that clearly aren’t progressing. Leaving them in too long can cause problems later.
Day 25: Lockdown Begins
From here on, you really want to leave things alone. Stop turning. Stop cooling. Increase your humidity into that 70 to 80 percent range and leave the incubator closed as much as possible. This is where things go wrong for a lot of people. They keep checking, but opening the incubator drops humidity fast and can make it harder for ducklings to hatch.
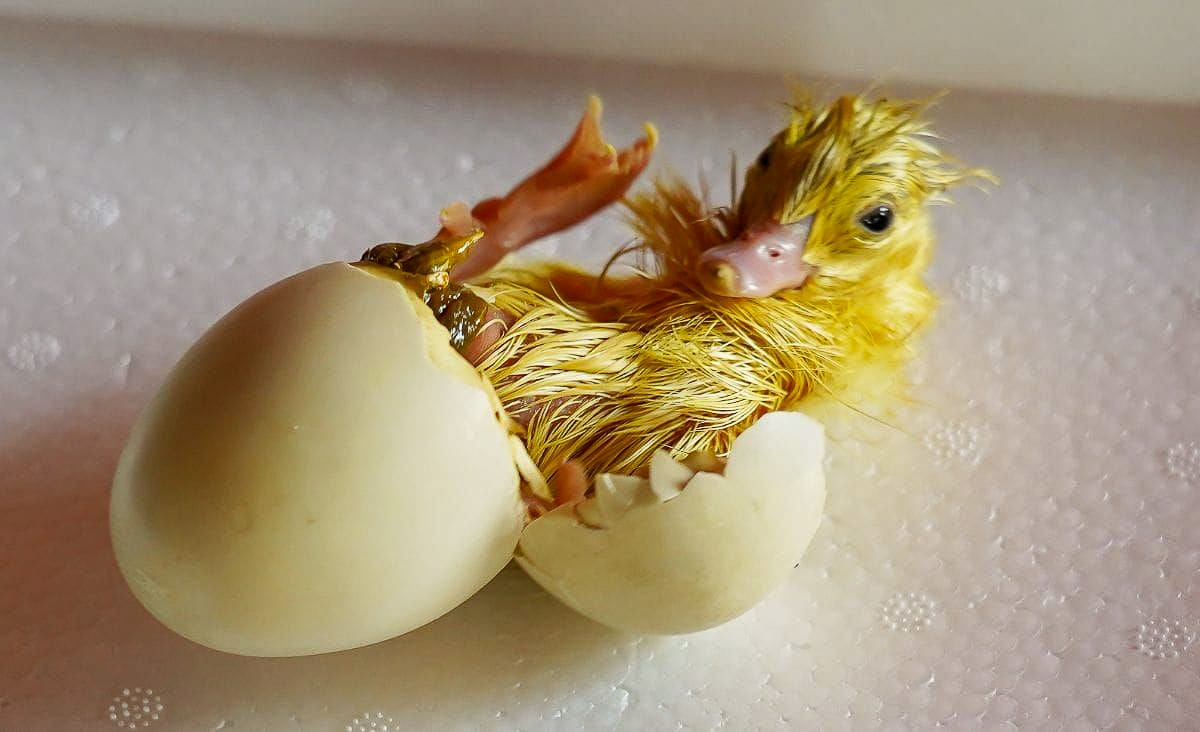
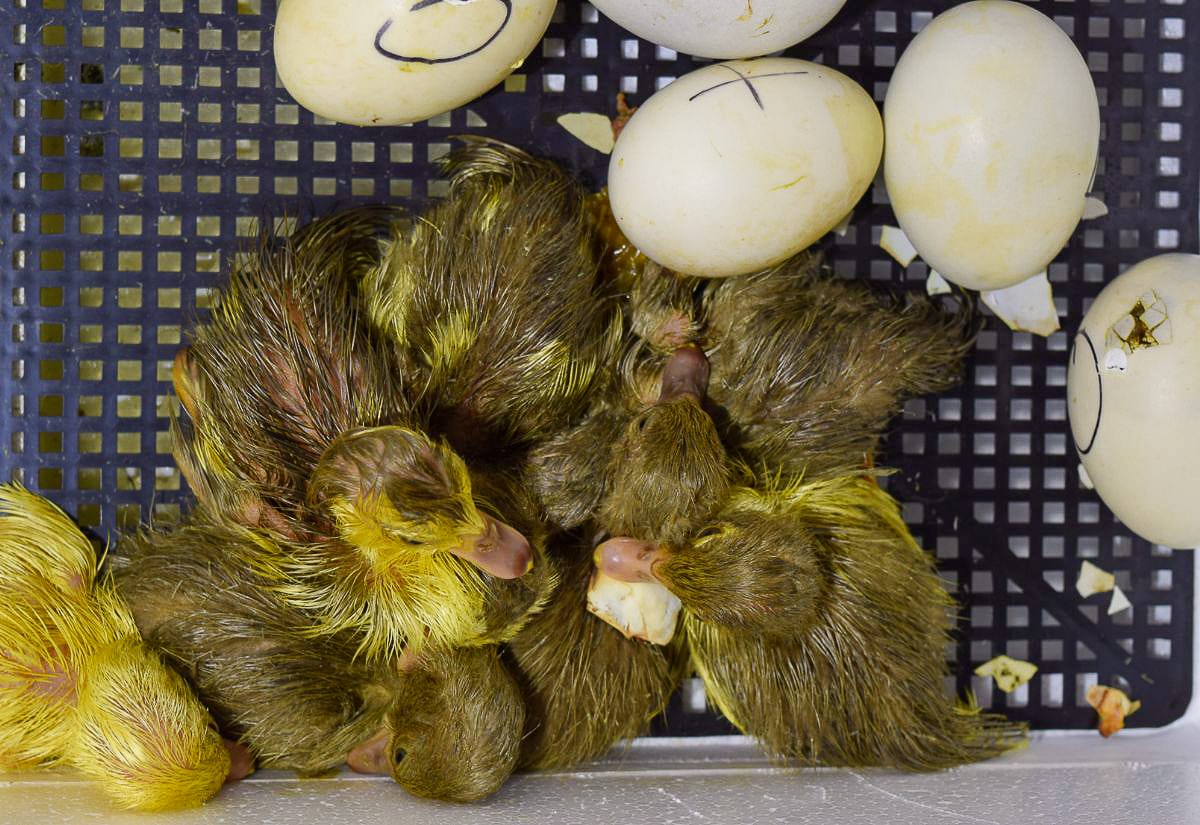
Hatch Day
Ducklings usually hatch around day 28, but not all at once. Some will pip and take their time. You’ll see the egg move, hear peeping, and then eventually see a pip. From there, it can take hours before they fully hatch. Let them work through it. Intervening too soon can do more harm than good.
Candling Duck Eggs and What to Watch For
Candling lets you check what’s happening inside the egg. Early on, you’re looking for veins. As time goes on, the egg darkens and the air cell becomes more defined. If an egg stays clear or shows no progress between checks, it’s best to remove it. Duck eggs have a longer incubation period than chickens, so it’s worth checking a couple of times along the way to avoid surprises later. I usually candle around day 5 to 7 and again around day 10 to 14.
Common Duck Egg Incubation Mistakes
If a hatch doesn’t go well, it’s usually one of these:
- Opening the incubator during hatch is probably the biggest one. It’s tempting, especially when you hear peeping, but it can drop humidity enough to cause problems.
- Inconsistent humidity is another. Low humidity can cause ducklings to stick to the shell and struggle to hatch. High humidity can prevent proper air cell development earlier in incubation.
- Skipping cooling and misting can lead to weaker hatches. Overhandling eggs can do the same.
Sometimes the issue is expectations. Not every egg will hatch, even under good conditions. Once you accept that, it’s easier to focus on improving your process instead of chasing perfection.
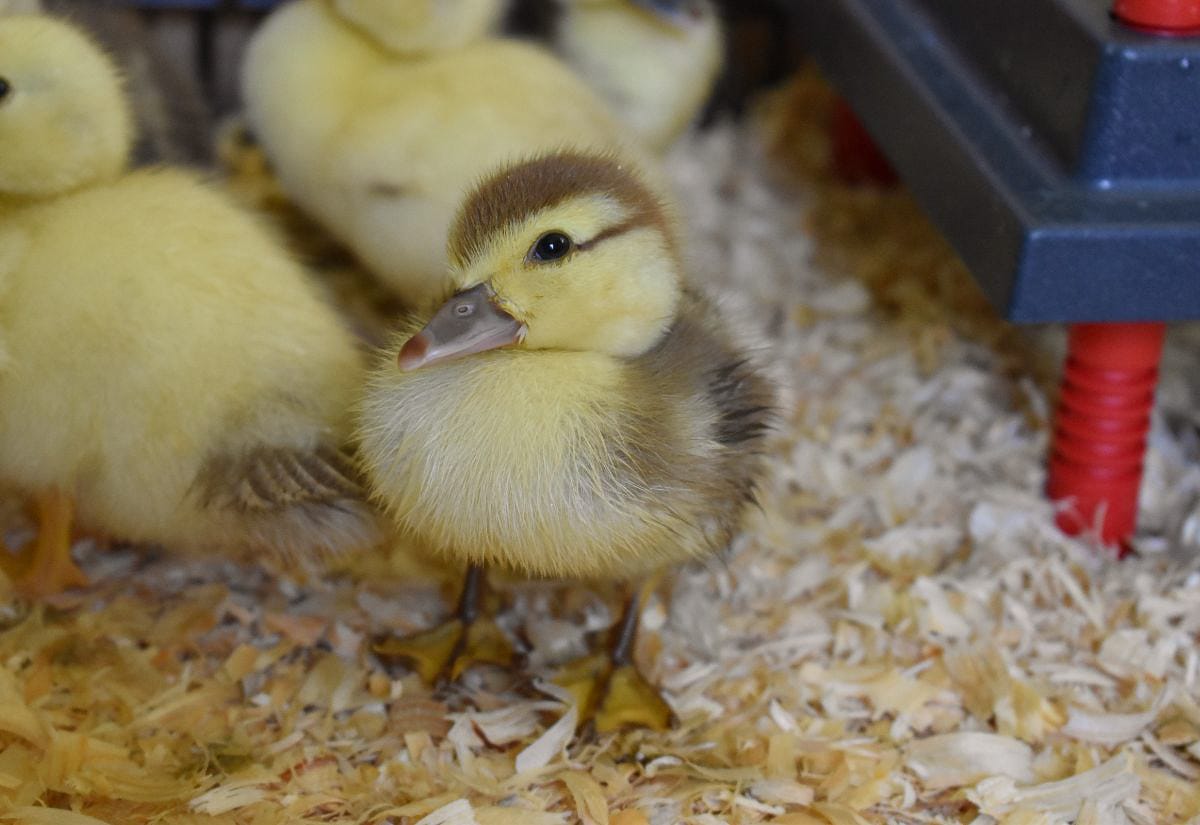
What to Do After Ducklings Hatch
Once ducklings hatch, leave them in the incubator until they’re dry and moving around well. Most ducklings dry off and fluff up within 12 to 24 hours. If they’re still damp or weak, give them more time before moving them. They should be active and steady on their feet before leaving the incubator. After that, they’re ready to move to a brooder. If you haven’t set one up yet, I walk through a simple setup in setting up a brooder (this is for chicks, but applies to ducklings as well).
After that, you’re into raising ducklings, which is its own thing. Things like early health issues, feeding, and growth all come into play. I cover more of that in keeping ducks healthy through common early problems and choosing the right duck breeds for your setup.
If you’re planning to keep ducks long term, you’ll want to know how ducks handle seasonal molting changes and whether chickens and ducks can share the same space without issues.
Special Note on Muscovy Duck Eggs
Muscovy ducks follow a different timeline, usually closer to 35 days, and their incubation can feel a bit slower overall. If you’re working with Muscovy eggs, it’s worth reading a more detailed breakdown like this Muscovy duck egg incubation timeline and setup guide before you start so you can adjust your expectations and timing.
Common Questions About Hatching Duck Eggs
These are the questions I hear the most before someone’s first duck hatch.
Pin this to keep track of temperature, humidity, and timing for your next hatch.
The first hatch feels like a lot. There’s a lot to keep track of. But once you’ve done it, it starts to click. Most of it comes down to staying consistent and not messing with it too much, but worth it when those eggs start to pip.
If you’ve hatched duck eggs before, I’d love to hear what worked for you or what you struggled with.
Can I do the science project but not keep the adult animal ?
Please email me and let me know.
I’m sorry, I don’t understand. Are you asking if you can open a fertile egg mid-incubation? If so, no, that would be very irresponsible as the duckling will die.
oh my gosh. Seeing those sweet little baby duck faces has me wanting some. I am told that “no” I can’t have any this year (haha). Thank you for sharing the video, very interesting and educational side of things that I have never seen.