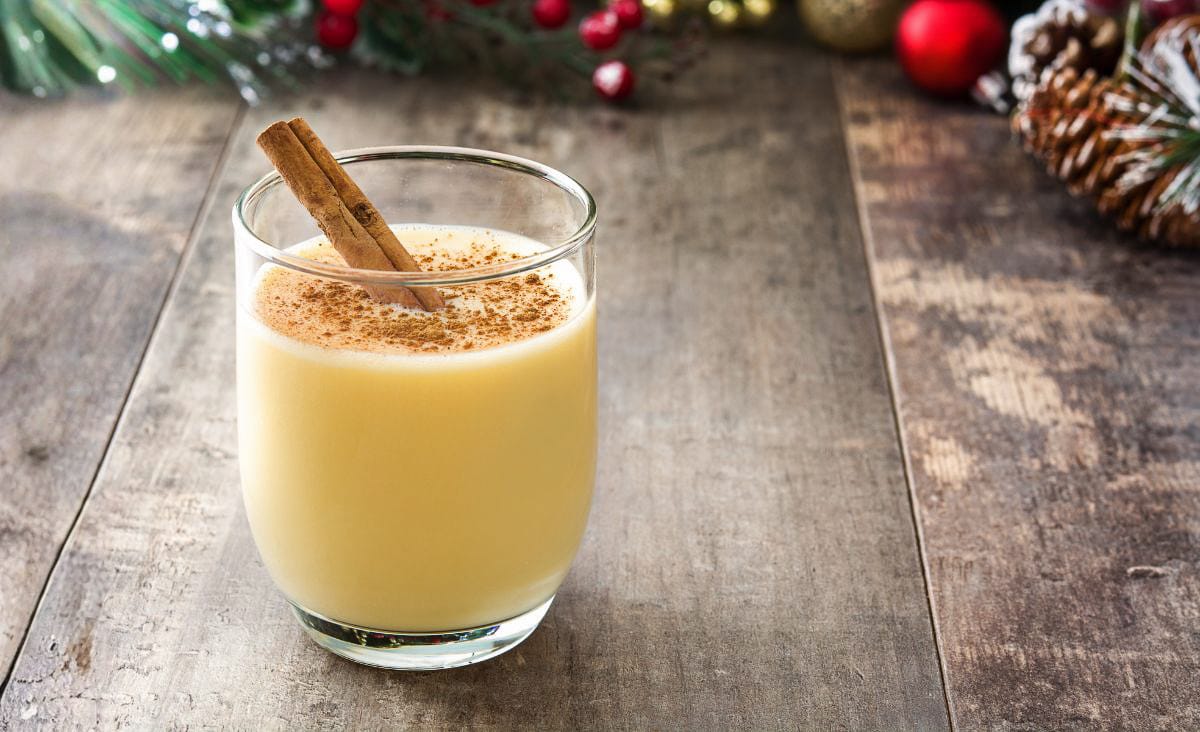
Homemade Eggnog With Fresh Eggs (Raw and Cooked Versions)
Not sure whether eggnog uses raw eggs? Learn the difference between cooked and raw eggnog, plus how to make each version at home.
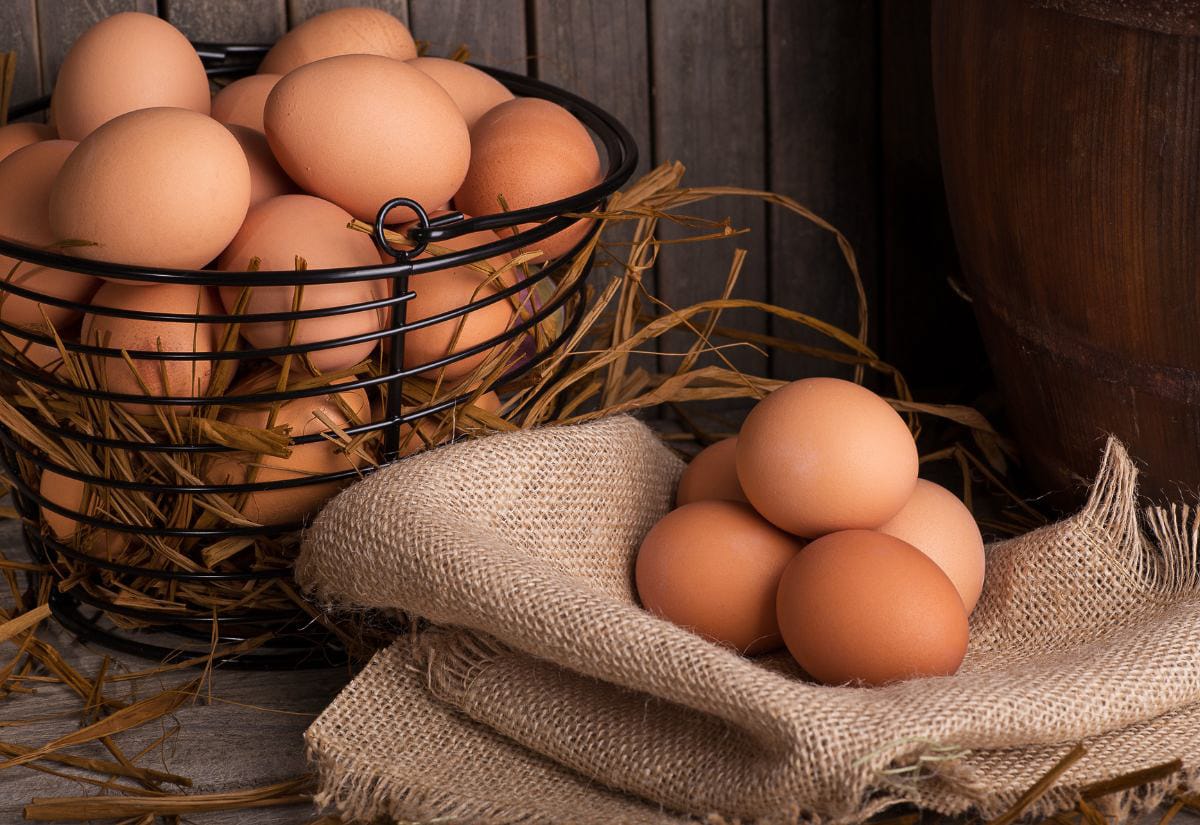
I’ll be honest: the first time I made eggnog with eggs straight from my hens, I wasn’t expecting much. I figured homemade eggnog would taste… well, like the store-bought kind I grew up with. You know the one. Thick, super sweet, and somehow both too yellow and not yellow enough. But the moment I whisked in those deep-orange yolks, the whole thing changed. Turns out, farm eggs make eggnog taste like the version you wish the store-bought one tasted like.
If you’ve ever wondered what makes eggs from your own coop behave differently in recipes like this, I talk about why they look and taste so different in my post on farm fresh eggs.
Around here in Maine, eggnog is one of those cold-weather treats that just feels right. If you’ve got a few extra eggs in the basket, you can whip this up from scratch in about fifteen minutes. I’ll walk you through how I make both the raw version and the cooked version, what makes farm fresh eggs shine, how to keep things safe, and the simple things that make homemade eggnog hard to beat.
Why Eggnog Tastes Better With Farm Fresh Eggs
If you’ve ever cracked open a store-bought egg next to one from your own hens, you already know the difference. There’s more going on there than just the pretty color… it actually changes the final eggnog.
Color + Flavor: Those yolks make the eggnog look rich before you even take a sip. And the flavor has a natural sweetness you won’t find in grocery-store cartons.
Creamier Texture: Fresh yolks blend together so much better. That means your eggnog won’t separate in the fridge, won’t feel watery, and naturally has a thicker, silky texture before you even add cream.
More Control Over Safety: When you know where your eggs came from, how old they are, and how they were stored, you’re already ahead. If you like the nitty-gritty stuff, I get into freshness, quality, and safety in my farm fresh eggs from the coop post.
Let’s Talk Safety: Raw vs Cooked Eggnog
Here’s the part that makes most people nervous (and it doesn’t need to). I get asked about it every December (and sometimes in July, because apparently craving eggnog in the summer is a universal thing). There are two safe ways to make it:
- Raw, using super fresh eggs and careful handling
- Cooked, gently heated to a safe temperature
When Raw Eggnog Makes Sense
Raw eggnog is the OG, and it keeps things light and smooth since the eggs aren’t cooked at all. If you’re using eggs from your own coop and you know they’re fresh and clean, raw is a fine option. That said, raw eggnog isn’t ideal for:
- Pregnant people
- Young kids
- Anyone immunocompromised
How to Make Cooked Eggnog Safe (Without Scrambling the Eggs)
Cooked eggnog is gently heated to 160°F, which pasteurizes the eggs without turning them into breakfast. The trick is low heat, constant stirring, and not wandering off just for a second (learned that one the hard way). Cooked eggnog is:
- Thicker
- Creamier
- Safer for crowds
- Better for making ahead
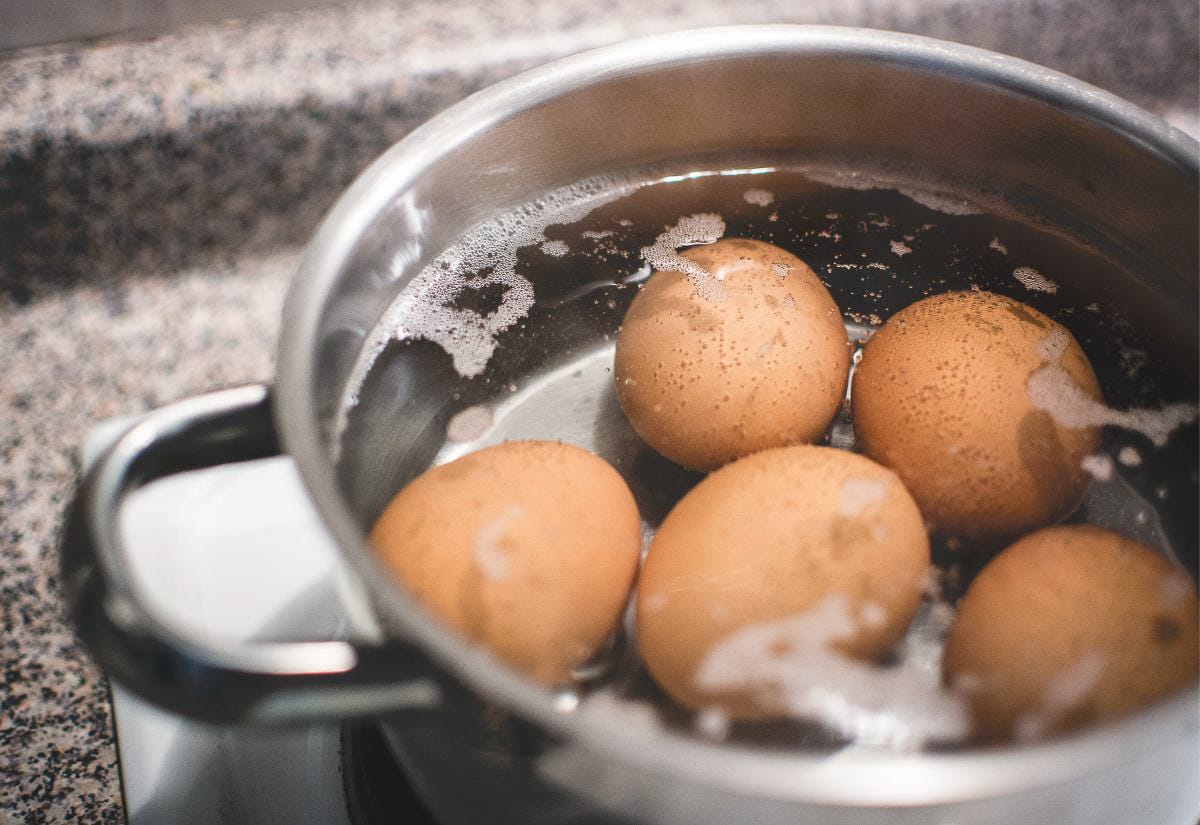
A Middle Option: Pasteurize Your Eggs First
You can pasteurize whole eggs by warming them in water at 140°F for 3 minutes, then cooling immediately. This gives you that raw-eggnog feel without the worry.
Ingredients You’ll Need
Since there aren’t many ingredients, the quality of each one really stands out.
Farm Fresh Eggs: The fresher the eggs, the better your eggnog. If separating eggs drives you a little nuts, try the soda-bottle trick I use when I need it to go quickly. It’s hands-down the easiest way to separate egg whites.
Milk Options: The type of milk you use will change how thick and rich it turns out.
- Whole cow’s milk: The classic choice.
- Goat milk: A naturally sweeter option that works incredibly well in eggnog when handled properly. If goat milk sometimes tastes “off” to you, try the simple method I use to keep goat milk clean-tasting. That one step is what keeps goat milk from tasting “goaty” in recipes like this.
- Raw milk: Great for those who prefer raw eggnog.
- Half-and-half or cream: If you like a thicker eggnog, this is the way to get it.
Sweetener: Sugar is traditional, but if you want deeper flavor, maple syrup is always my pick.
Spices: Nutmeg is non-negotiable. Freshly grated is worth it.
Vanilla: It doesn’t scream “vanilla,” but you notice when it’s missing.
Optional Spirits: Rum, bourbon, or brandy. Use them or skip them. Homemade eggnog is great both ways.
If you like warm drinks, you may also enjoy this non-alcoholic butterbeer I make for my kids when we want something comforting but not overly sweet.
How to Make Eggnog From Scratch (Two Ways)
Both versions use the same base ingredients. It’s the technique that changes the texture and thickness.
Raw Eggnog (Quick, Light, and Traditional)
Raw eggnog comes together fast. It’s my go-to on those winter days when I’m cold to the bone after morning chores and want something comforting. Here’s how to do it:
- Separate your eggs.
- Beat the yolks until they’re rich and slightly thickened.
- Add your sweetener and whisk until dissolved.
- Add your milk, cream, spices, and vanilla.
- Beat the egg whites to soft peaks and fold them in.
It goes down easy and doesn’t feel heavy at all.

Cooked Eggnog (Creamy, Custardy, and Safe)
Cooked eggnog is closer to what most people expect (the thick, creamy version). Here’s how to do it:
- Whisk yolks with sweetener until pale and thickened.
- Heat milk and cream until steaming.
- Temper the eggs by slowly pouring in hot milk while whisking.
- Return everything to the pot and heat to 160°F, stirring constantly.
- Remove from heat, stir in vanilla and spices, and chill completely.
Cooking it is what gives you that thick, creamy texture.
Troubleshooting Eggnog (Because It Happens)
Eggnog can be finicky. Here’s how to handle the most common issues.
- My eggnog curdled… The heat climbed too fast. Blend it for 20–30 seconds. It often smooths out well enough to enjoy.
- It’s too thin… Cook it a little longer next time. Raw eggnog will always be thinner, but cream or half-and-half helps.
- It tastes grainy… Either the sugar didn’t dissolve fully or the eggs heated too quickly. Warm things slowly and whisk constantly.
- Raw eggnog separated in the fridge… Totally normal. Just shake or whisk before serving.
- The flavor is a little flat… A touch of maple syrup or freshly grated nutmeg perks everything up.
Storage, Make-Ahead Tips, and Freezer Notes
Now that it’s done, let’s talk about how long it’ll keep.
Raw Eggnog: Best the same day. Drink it within 24 hours.
Cooked Eggnog: Keeps 3–4 days in the fridge. The flavor is even better on day two.
Alcohol-Added Eggnog: Lasts closer to five days because the alcohol slows spoilage.
Freezing Eggnog: You can freeze cooked eggnog. Give it room to expand and run it through the blender after thawing.
Common Eggnog Questions
Before you grab your whisk, here are some common questions that come up.
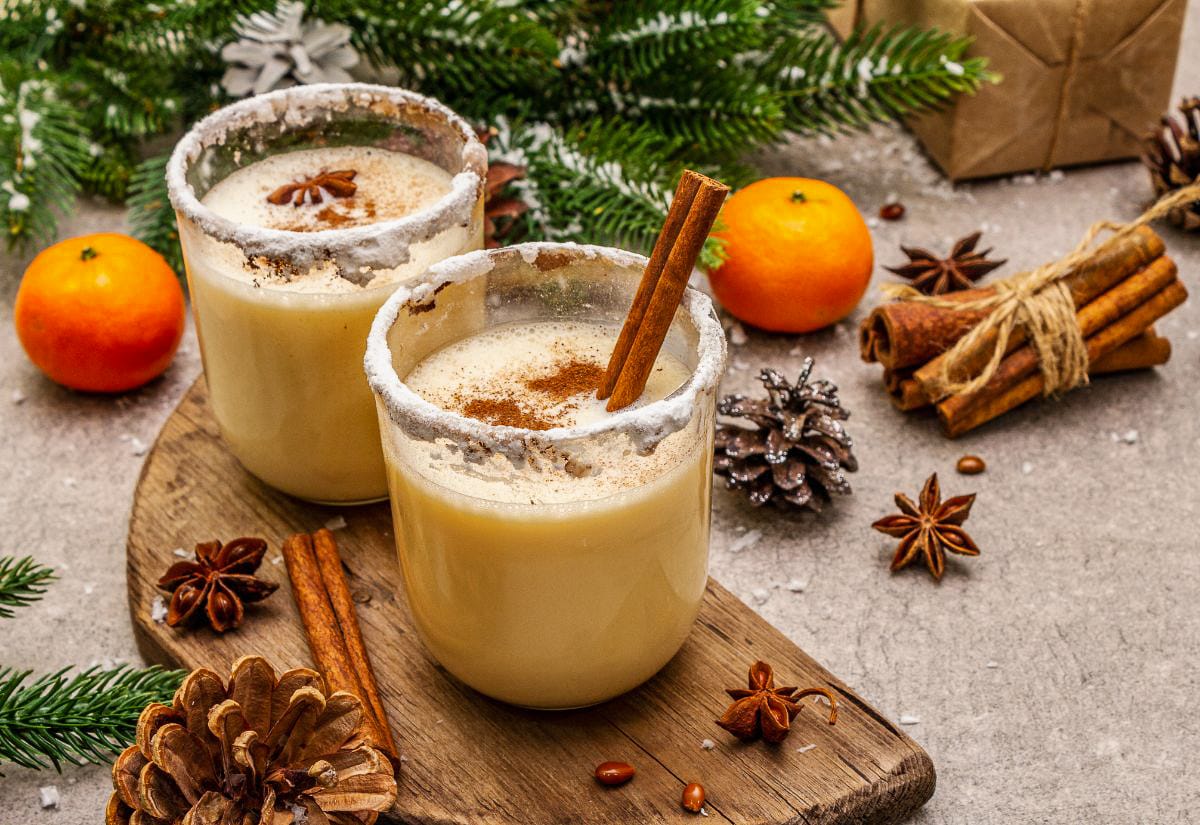
Pin this so you’ll have the recipe handy the next time you’re craving real, farm-fresh eggnog.

Homemade eggnog hits different when it’s made with your own eggs. No matter which version you like, it has a deeper flavor than anything store-bought, and once you’ve tried it fresh, you don’t really look back.
If you try a batch, let me know how it went or if something didn’t behave the way you expected. I’m always happy to help talk it through.

Raw Eggnog (Made with Fresh Eggs)
This post may contain paid links. If you make a purchase using the links in this recipe, I may earn a commission.
Ingredients
- 4 Eggs separated
- ⅓ cup Sugar or ¼ cup maple syrup
- 1 cup Whole Milk
- 1 cup Cream or half-and-half
- ½ teaspoon Vanilla Extract
- Ground Nutmeg to taste
- 1 pinch Cinnamon optional
Instructions
- Separate the eggs. Place yolks in one bowl and whites in another.4 Eggs
- Whisk or mix the yolks until the they look slightly thick and a shade lighter.
- Add the sugar or maple syrup into the yolks and whisk until fully dissolved.⅓ cup Sugar
- Pour in the milk, cream, vanilla, and nutmeg. Whisk gently to combine.1 cup Whole Milk, 1 cup Cream, ½ teaspoon Vanilla Extract, Ground Nutmeg
- Whip the egg whites. Beat until soft peaks form.
- Fold whites into yolk mixture. Gently mix to keep the texture light and frothy.
- Taste and adjust. Add extra nutmeg or sweetener if needed.
- Sprinkle on cinnamon and serve immediately. Raw eggnog is best within a few hours.1 pinch Cinnamon
Notes
- Use very fresh, clean eggs for raw eggnog.
- If the mixture separates while chilling, just whisk or shake before serving.
Nutrition

Cooked Eggnog (Made with Fresh Eggs)
This post may contain paid links. If you make a purchase using the links in this recipe, I may earn a commission.
Equipment
- Instant-Read Thermometer
Ingredients
- 4 Eggs
- ½ cup Sugar or ⅓ cup maple syrup
- 2 cups Whole Milk
- 1 cup Cream or half-and-half
- ½ teaspoon Vanilla Extract
- Ground Nutmeg to taste
- 1 pinch Cinnamon optional
Instructions
- Whisk the eggs and sugar together in a bowl until the mixture is pale and slightly thickened.4 Eggs, ½ cup Sugar
- Warm the milk and cream in a saucepan over medium-low heat until steaming, but not boiling.2 cups Whole Milk, 1 cup Cream
- Slowly pour a ladle of hot milk into the egg mixture while whisking. Repeat once or twice.
- Return to the mixture back into the saucepan.
- Cook to 160°F. Stir constantly and let it thicken gently. Do not walk away. This is the part where eggnog can curdle.
- Remove from heat. Stir in vanilla and nutmeg.½ teaspoon Vanilla Extract, Ground Nutmeg
- Strain using a fine strainer if you see any small cooked egg bits.
- Refrigerate for at least 1 hour before serving. It will thicken as it cools. Sprinkle with cinnamon if desired.1 pinch Cinnamon
Notes
- This version keeps 3–4 days and tastes even better on day two.
- Add a splash of milk after chilling if it thickens more than you prefer.
- A little rum, bourbon, or brandy mixes in smoothly once cooled.