Sew A DIY Coffee Cup Sleeve from an Old Feed Bag for your Travel Mugs
Learn how to make a reusable DIY coffee sleeve for your Starbucks cup or travel mug using a feed bag. It’s a super simple weekend project.

Skip the single-use coffee cup and coffee cup sleeve by making your own DIY coffee sleeve out of a feed bag (lord knows we have a bunch of those kicking around here) to use with your reusable travel mug.
In our quest to cut down on single-use plastics, and single-use everything, I’ve created a simple coffee cup sleeve template and tutorial that utilizes feed bags.
Since most of the feed we use at the farm is packaged in poly bags, I am always trying to think of what to make from the empty feed bags. All that reusable material has to be good for something, right? There are not enough hours in the day for me to upcycle every used feed bag here, but there are a couple of uses that you might consider.
Upcycle Your Trash
My friend is very industrious and makes tote bags. She started making them back in 2010 and they remain popular still today. Many people have caught on to this wonderful use of potential trash for landfills. These tote bags are sturdier than most other tote bags. My bag is going on three years old and gets weekly use, if not more often. It has no rips and the handles are still sturdy and intact.
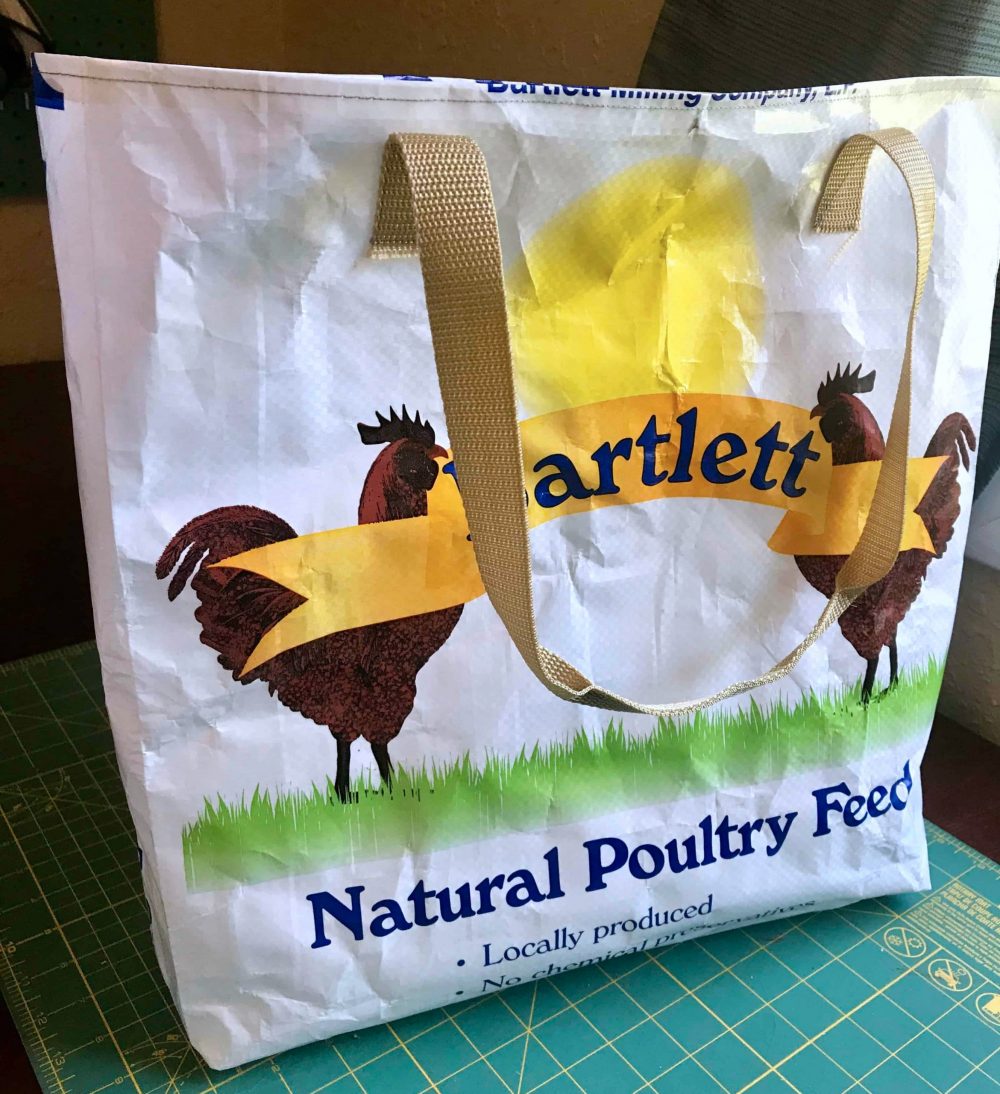
If you haven’t seen the feed bag totes, the directions can be found on The Happiest Camper Homestead.
Other Uses for Upcycling Feed Bags
- Make recycling bins. Use one sack to collect baling twine, another for scrap metals, one for beverage cans to be recycled, etc.
- Protect your floors when painting or staining. To double the surface area covered beneath your painting/staining project, cut a feed sack open to lie flat.
- Share heavy produce. An empty feed sack is perfect for sharing extra sweet corn, potatoes, pumpkins, or other garden goodies.
- Line your pantry shelves. Cut a sack open and then trim to the dimensions needed.
- Make a mini-garden. Fill a feed sack with dirt and grow potatoes.
- Reduce weeds. Put several sacks down in your garden as weed barriers. Just scatter a few inches of mulch on top to hold them down.
Easy Project: DIY Coffee Sleeve Instructions
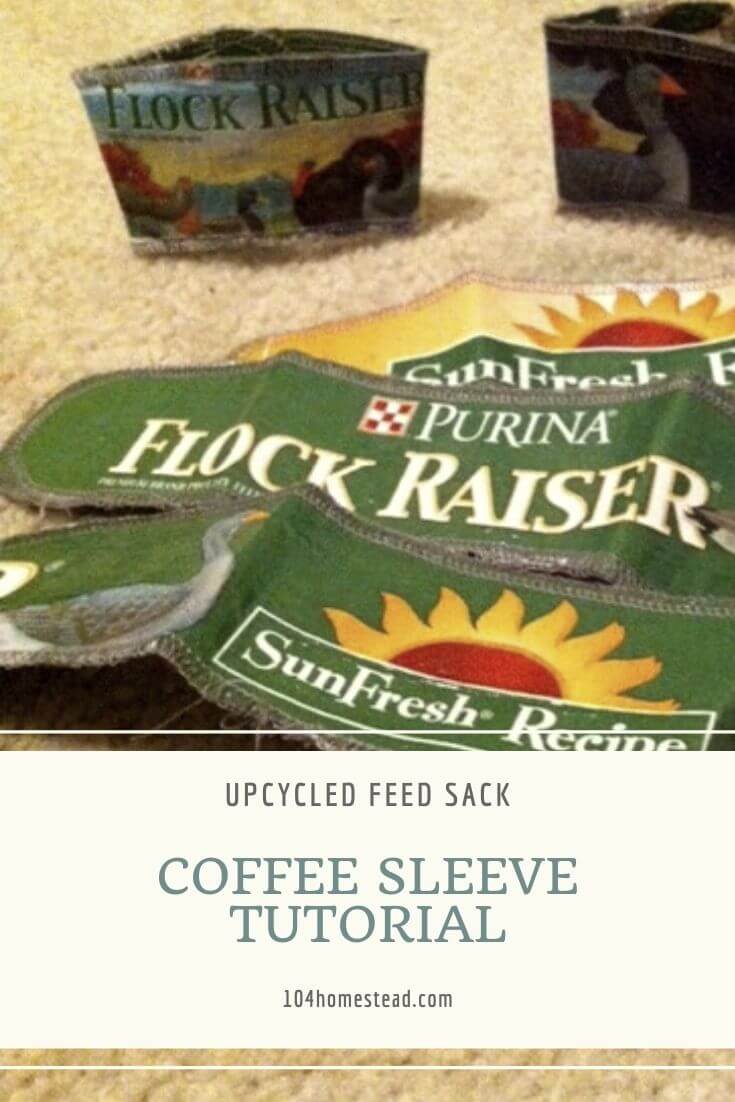
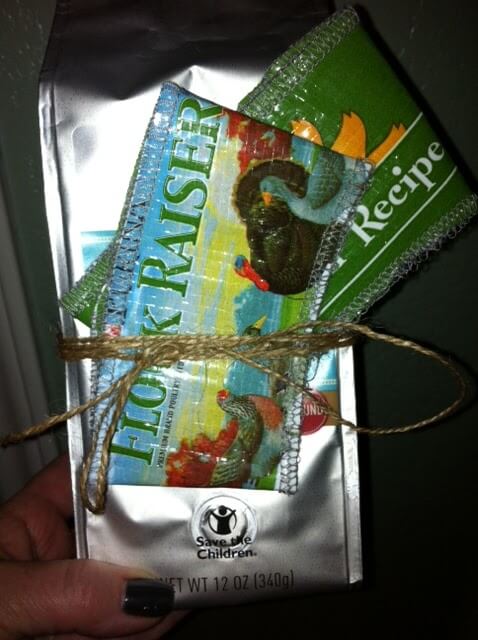
My latest reuse is making coffee cup sleeves from the feed bag fabric. For this project, I used a quilting term known as “fussy cutting” with my scissors to cut out specific pictures in the needed pattern shape. A rotary cutter can be used, but I discovered the poly bags dulled my blades really quickly. I began with a Purina Mills Flock Raiser bag, some thread I had on hand, and a disposable sleeve from the local coffee shop. This bag has many different types of poultry pictured on the front and back.
Cut Your Pieces Using Your Template
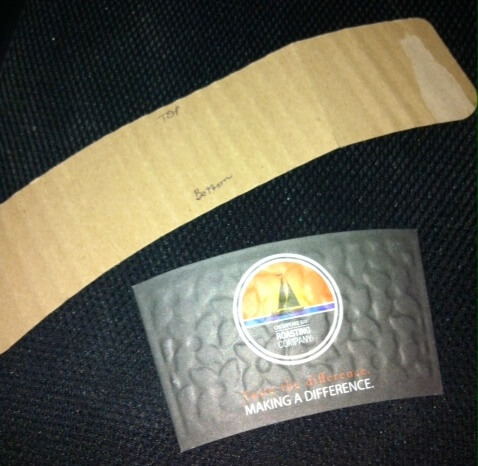
I made a pattern to trace from the cardboard coffee cup sleeve and cut out two pieces, making them just a bit bigger than the finished size. Make sure that you mark the pattern with “top” and “bottom” before cutting. If you skip this, you could end up with a sleeve that has an upside-down turkey or duck on it. Trust me on this. I just know it can happen.
Sew the Right Sides Together
Now, holding the two cut pieces together with pins or sewing clips, right sides out, begin sewing the outside edges together. I used my serger but you could use a zig-zag or other decorative stitch on a regular sewing machine too. Trim your threads and fold the coffee sleeve into position for joining the two ends. Refer back to your sample sleeve to make sure it is going together correctly. Using a regular sewing machine, stitch the two ends together.
If you prefer to have coffee sleeves that can be stored flat, you can attach a button or velcro instead of sewing the ends together.
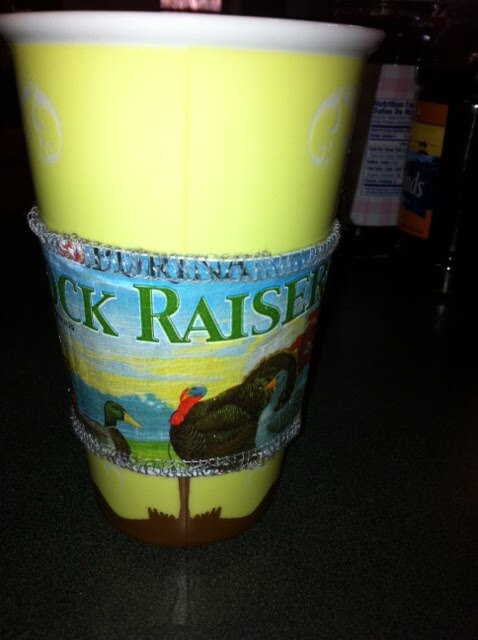
Finish Your DIY Coffee Sleeve
Trim threads and slip your coffee cozy onto a standard-shaped coffee cup. Be proud! Go make yourself a fresh pot of coffee!
Coffee Cup Cozy Gifting Ideas
I think these cozies would be a very cute gift for a co-worker or neighbor packaged with a packet of hot drink mix or a local coffee shop gift card. Tie it up with a piece of twine or ribbon and voila!
Now, where are we with that coffee???
Not a coffee fan? I’ll try not to judge. Here are some other hot drinks to enjoy with your reusable coffee sleeve. Or maybe some hot cocoa.