Do-it-Yourself Chalkboard Planter {An Easy Weekend Craft}
Looking for a quick weekend craft? This DIY chalkboard planter is easy, cute, and perfect for growing herbs indoors during the long winter months.
Has winter been sticking around too long, where you live? Are you waiting and hoping for warmer temperatures so that you can get into your garden and put some dirt underneath your fingernails? Today I am sharing a quick easy way to bring some gardening into your life right now. It combines two of my favorite things into one project: paint & plants!
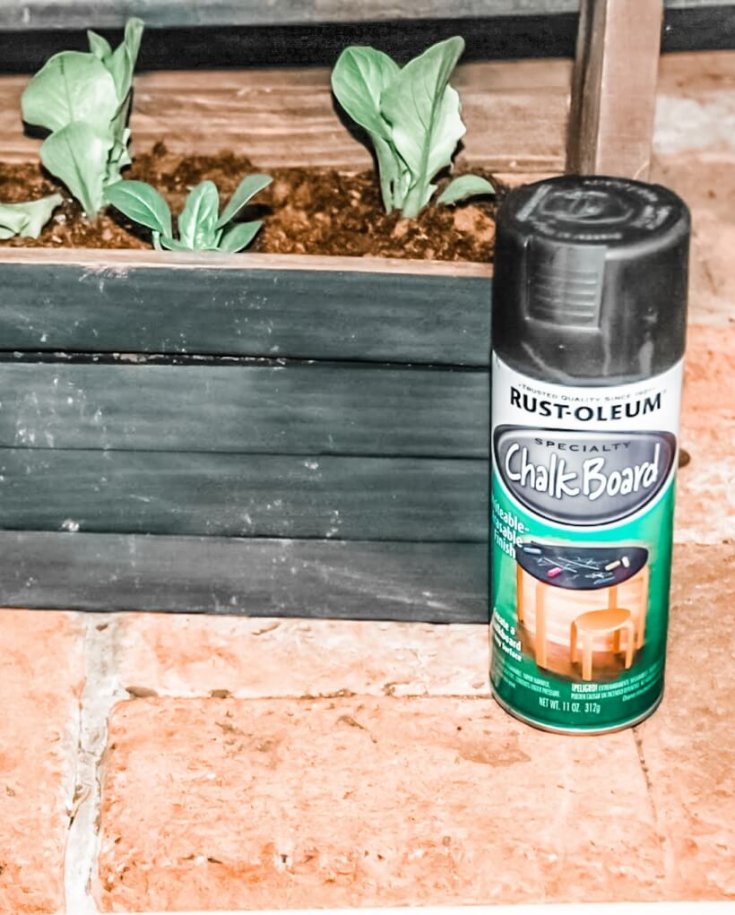
Introducing Rustoleum Chalkboard Paint
One of my all time favorite things right now is anything painted with chalkboard paint. I recently discovered that Rustoleum makes a spray paint in chalkboard finish. Sold! I love it. In just a few moments you can have a chalk board finish on almost anything. I chose to paint a few wooden tote boxes I had purchased a few months ago. So, outside I went with the paint, boxes and the seedlings of greens (another favorite item of mine).
I love salads made with fresh mixed greens. Now I would have a jump start on fresh spring greens in my salad. If salad greens aren’t your thing, herbs and houseplants would work great in this chalkboard planter as well.
How to Paint Your Planter
Spray the paint onto the box wherever you want the chalkboard finish to be. It can be the entire box, or maybe just the face. You’ll want to do a smooth even coat. Wait for it to dry, then repeat with a second and maybe a third coat of paint. It’s better to do several thin coats versus fewer thick coats that may end up chipping off your chalkboard planter. Follow the directions on the can for drying times between coats. It’s usually less than the fully dry time.
Allow the paint to dry completely before continuing to the next stage of the project. The paint manufacturer recommends waiting 24 hours. If you’ve got the patience (and I don’t blame you if you don’t), 36 hours would be even better.
Next you’ll want to cure the surface. You do this by rubbing a piece of chalk, placed on its side, over the entire surface. Wipe off the chalk and now the surface is ready to be used.
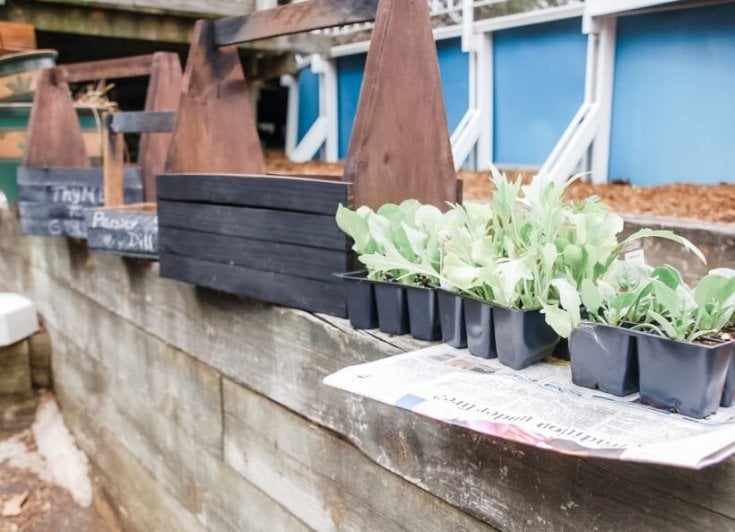
Get Ready to Plant
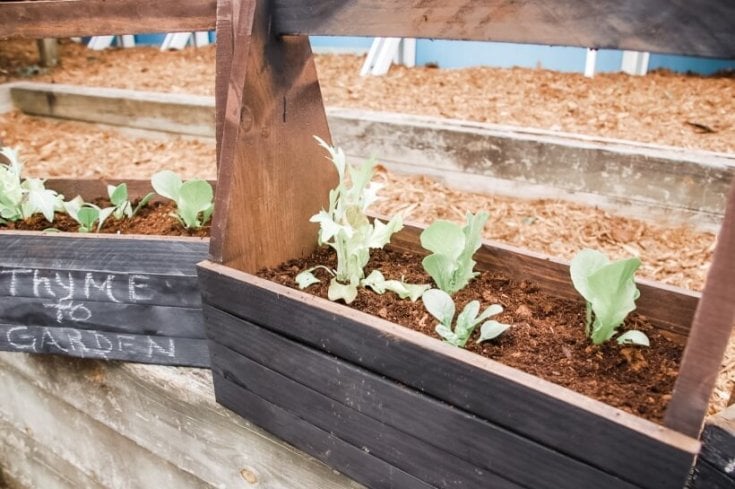
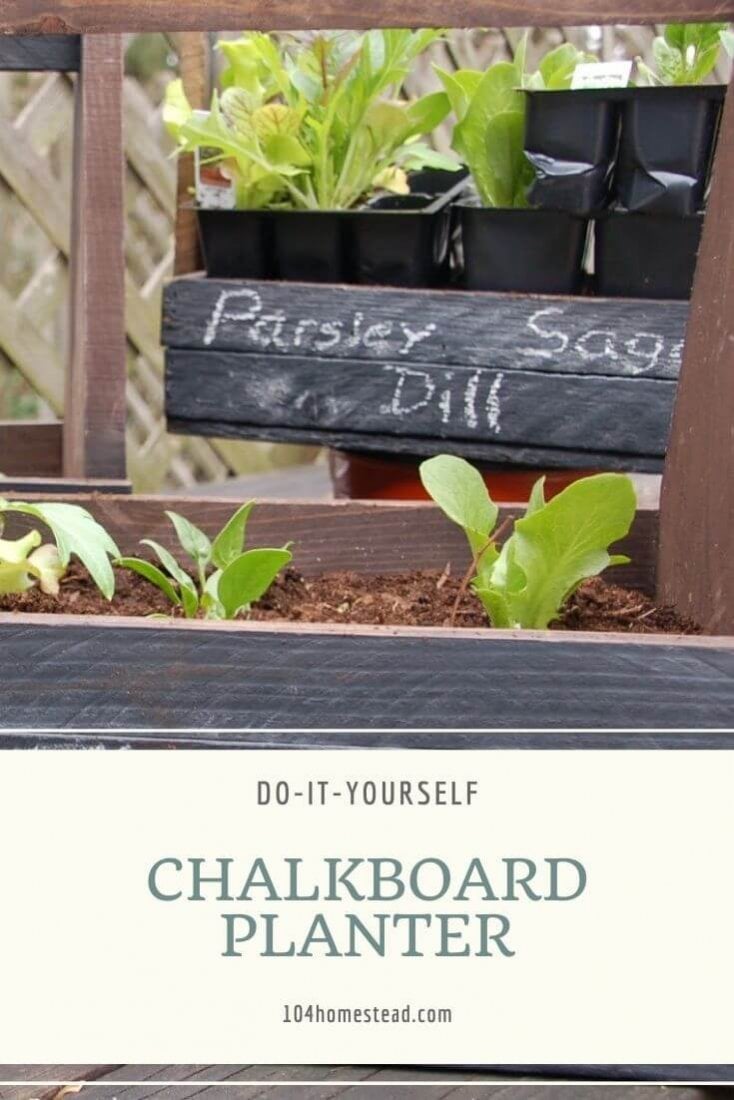
I lined my chalkboard planter with a piece from a poly fabric feed bag (you know, the ones livestock feed comes in). Fill with potting soil or seed starter mix and pat down. Plant your favorite seedlings or, if you are patient, plant your seeds. If you need help getting your seeds started, check out this post for tips and tricks.
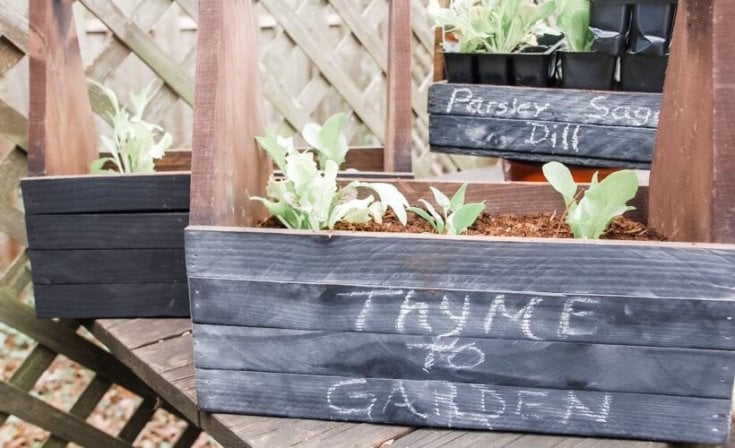
Add a saying or a quote to the chalkboard and enjoy your small mini garden planter. You could also simply write what you planted in the chalkboard planter and/or the date you planted the seeds.
Garden Quote Inspiration
- Life begins the day you start a garden. – Chinese proverb
- If you have a garden in your library, everything will be complete. – Marcus Tullius Cicero
- Garden as though you will live forever. – William Kent
- There are no gardening mistakes, only experiments. – Janet Kilburn Phillips
- My garden is my most beautiful masterpiece. – Claude Monet
- Gardeners, I think, dream bigger dreams than emperors. – Mary Cantwell
Plant & Garden Puns
- Lettuce be thankful.
- Netflix and dill.
- Spring is coming, I’m so excited I went my plants.
- I love you from my head tomatoes.
- Don’t kale my vibe.
- I’m rooting for you!
- If you can’t beet them, join them.
- It was mint to be.
- I will seed you later!
- Be nice or leaf.
- It’s party thyme!
Some other containers that would work in a similar manner could be an old drawer from a dresser, or an old wooden milk crate. Almost anything that can be painted could be used. Painting small boxes enables you to bring the plants to a sheltered area if Mother Nature brings on more wintery weather. Use your imagination and enjoy getting an early start on this spring’s gardening adventures with your adorable new chalkboard planter.
Hey Jessica, thanks! With the lockdowns and all happening, I’ve been looking for things to do (anything that the kids can join in with is a bonus). This looks like a nice project for that. The only good thing (if I can even say that) is we get to spend more time with the kids. But, there’s still that feeling of uneasiness that any one of us or people we know can get the virus.